Ever since childhood, I have been interested in making things that take time and effort.
It’s nice to have convenient and easy things to do, but I was not interested in them.
My elementary school teacher and my parents called me “slow” since I took longer than others to do many things.
So, when I started practicing macrobiotics, I thought that macrobiotics, which require careful time, were suitable for me.
Many people say that macrobiotics is difficult and challenging, but what macrobiotics teach is the principle for humans to live a healthy life, so it’s not complicated.
But it changes by season, the type of people’s constitution, and their health condition, so since we (humans) are so out of touch with nature, it has become too complex.
Of course, it takes time and effort to be done.
But learning anything for the first time isn’t easy; you’ll improve with practice and practice. For example, playing the piano in music or playing tennis in sports can only be done easily if you are incredibly talented.
The reality for me is that after getting sick and being unable to walk due to a near death car accident, I had to think about my own lifestyle and how to live. Then, I practiced what I could and practiced again and again, and finally, I could do it comfortably.
In fact, it wasn’t until I had more leeway in my life that I started making traditional Japanese handmade items and other items little by little. I now make about 10 different products (e.g., Miso, Yuzu pepper, Rice bran pickles, Natto, Orange marmalade, Umeboshi plums, Ume plum enzyme juice, Ume plum sauce/jam, Rakkyo pickles, Red ginger pickles, and Dried whole persimmons) every year with help of my husband, Eric.
I’m a tortoise, so I slowly prepare to welcome the new year every year. At the beginning of January, I start writing down my goals for the year ahead, and then February arrives.
Around that time, I start making miso.
It is the perfect time to make miso.
Because the temperature is low, fermentation can take place slowly and thoroughly.
During the cold season, there are fewer bacteria, which can prevent mold growth.
One of the reasons is that you can use soybeans that have just been harvested in the fall.
Nowadays, many people use miso within about three~six months of making it, and miso companies also need a place to store it. If it takes time, it will take time to sell, so it seems like a sad situation that more and more companies are selling their miso in a short time after they make it.
In fact, when miso is left to age for two or three years, amino acids and vitamins that are not present in soybeans or are present in small amounts are produced through fermentation, increasing its nutritional value. Soy protein is broken down by enzymes and becomes water-soluble, and some of it becomes amino acids. Among them are eight types of essential amino acids that are essential for maintaining life, as well as vitamins (B1, B2, B6, B12, E, K, niacin, folic acid, pantothenic acid, piotin) and minerals (sodium, potassium, calcium, It contains abundant nutrients such as magnesium, phosphorus, iron, zinc, copper, iodine, selenium, chromium, and molybdenum), monounsaturated fatty acids, polyunsaturated fatty acids, and dietary fiber.
The salt mixes well with the soybeans, giving the dish a rich, umami flavor rather than a salty taste.
Therefore, I recommend using miso that has been aged for 2 to 3 years, but these days, aged miso is almost impossible to buy and is inconvenient.
We can’t find aged miso sold in the Japanese market and health food stores where we used to buy it here in the United States (near Los Angeles), so the miso they sell tastes salty.
I haven’t lived in Japan for a long time, so I don’t know much about what kind of miso is sold in Japan, but aged miso is probably hard to find in Japan as well.
So, I decided to make my own miso a while ago after I recovered from stage IV cancer, only weeks live.
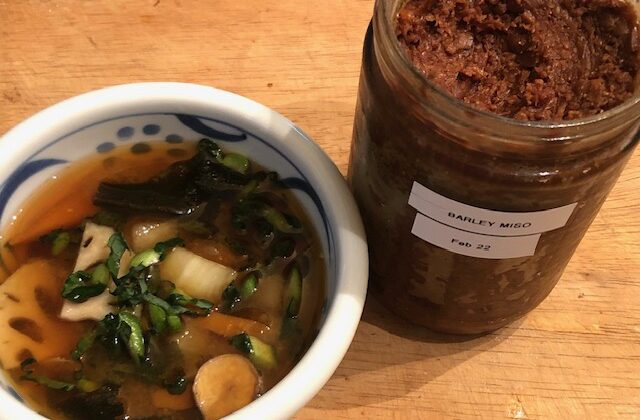
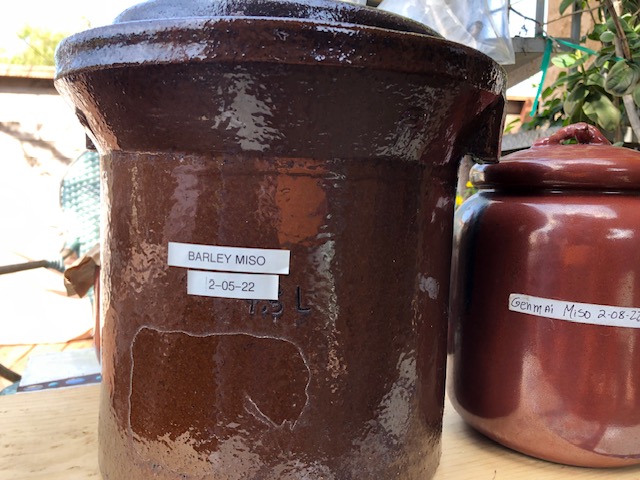
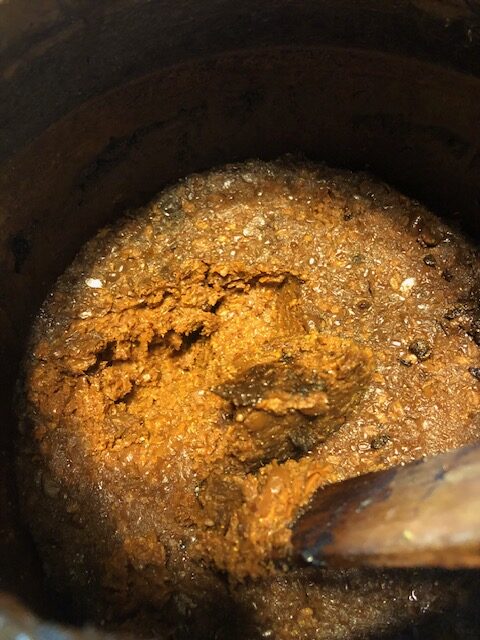
This year, I pulled out the miso in the earthenware pot I made two years ago. The aroma and taste are great. I wish I can share them here.
Of course, I have so much love for this miso because I have been growing it with my care for two years.
I made miso soup with my two-year-old miso.
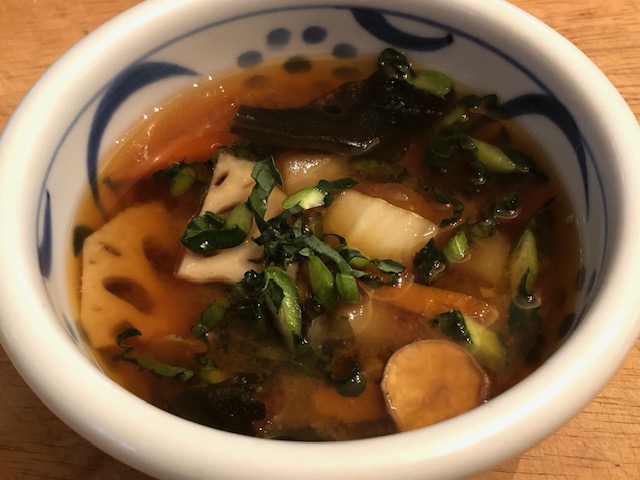
I only needed to use less than the usual amount of miso I used to get the flavor.
It was so delicious!
The miso can be used in various dishes such as stir-fry, stew, dip, and miso dressing and many more.
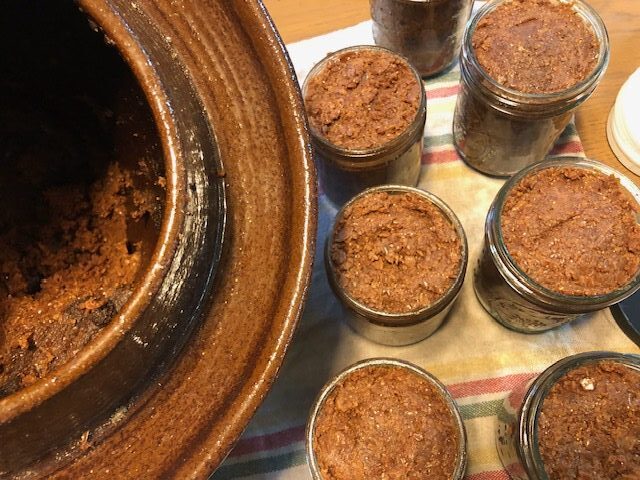
You can easily see the benefits of miso on the internet if you look into it.
・Promotes digestion and absorption – has the effect of working on the digestive organs.
When you absorb the salty taste of miso soup into your body at the beginning of a meal, your stomach and intestines begin to move, allowing for efficient digestion and inhalation, which reduces the burden on your body.
・Suppression of blood cholesterol levels
Soybean lecithin and soybean peptides contained in soybeans can suppress the rise in blood cholesterol.
・It has also been reported to have other beneficial effects, such as neutralizing nicotine, preventing cancer, and preventing aging. And much more!
Making your miso is not difficult, so why not give it a try?
Here is the recipe I have been using.
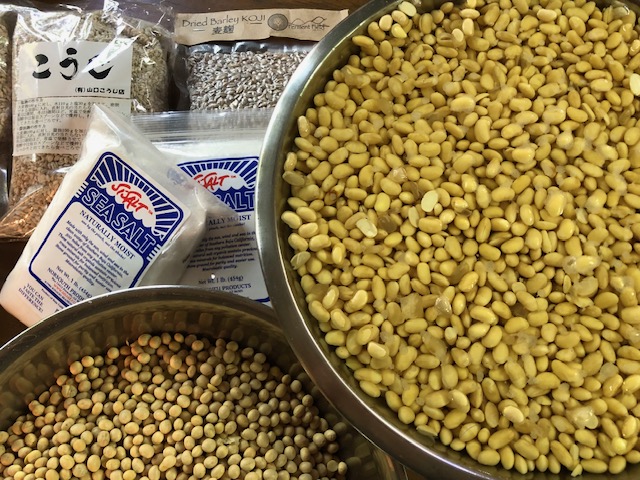
Miso making recipe:
・Organic dried soybeans) 300g
・Koji (rice malt or barley malt) 200g
・Sea salt 120g
・Earthware container/pot
・Storage cotton cloth
What to prepare
・Stainless steel pot, colander, bowl,
· Ladle
・Wooden pestle,
・Organic cotton cloth or Cheesecloth
・Baking sheet
・Weight
・Vinyl gloves (only for those who are interested)
・Alcohol spray or shochu or salt (only for those who are concerned)
・Stainless pot, calendars, bowl,
・Vinyl gloves (only for those who are interested)
・Alcohol spray or shochu or salt (only for those who are concerned)
1. Wash the soybeans 2 to 3 times.
2. Add three times as much water as the soybeans and leave it overnight. Soybeans will expand by 2 to 2.3 times. It takes about 8~12 hours! Remove the skins from the float beans to the top and drain the water.
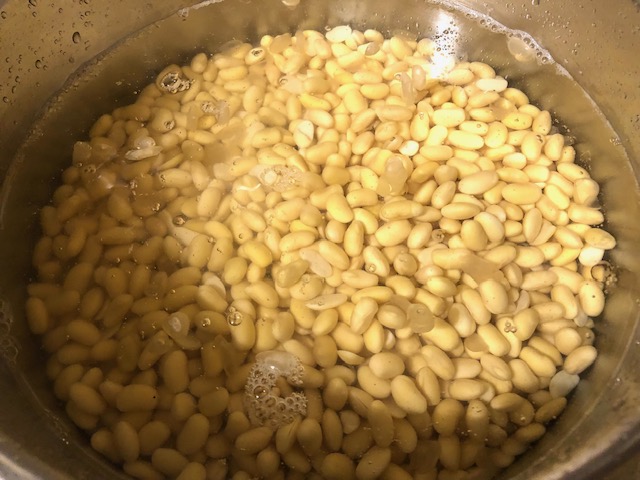
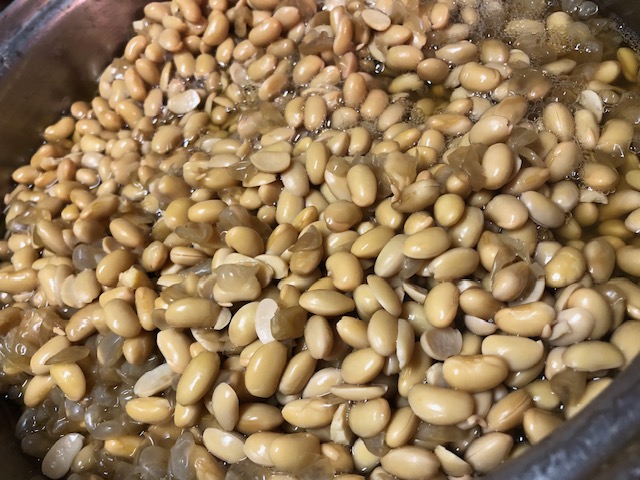
3. Add enough fresh water to cover the soybeans, heat over high heat at first, and once it boils, remove the scum. Then, boil slowly over medium heat and add the water if you need. Take a form out with a ladle. It depends on the pot, but the approximate cooking time is about 3~5 hours.
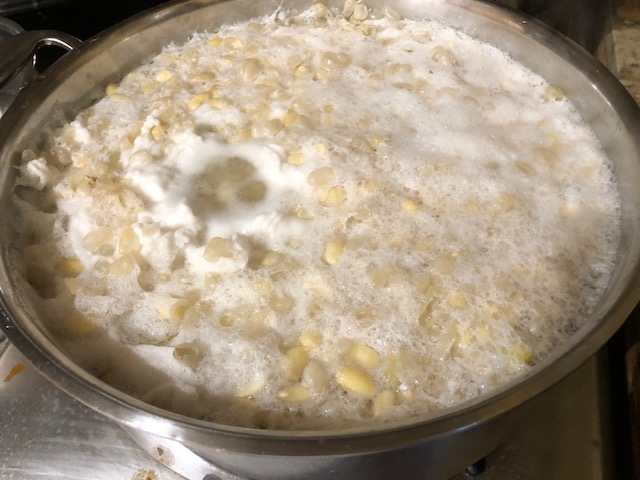
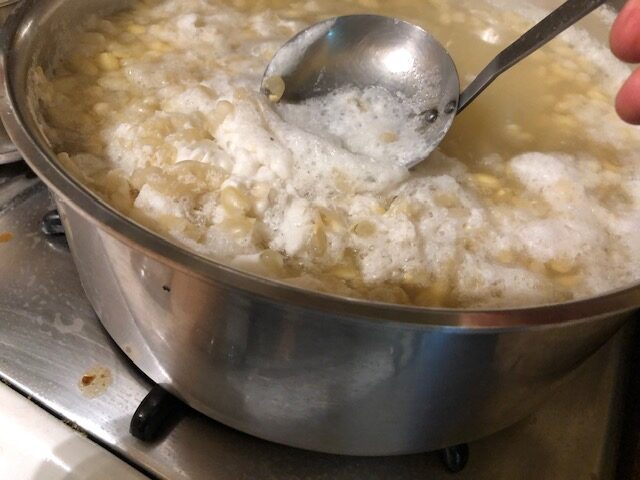
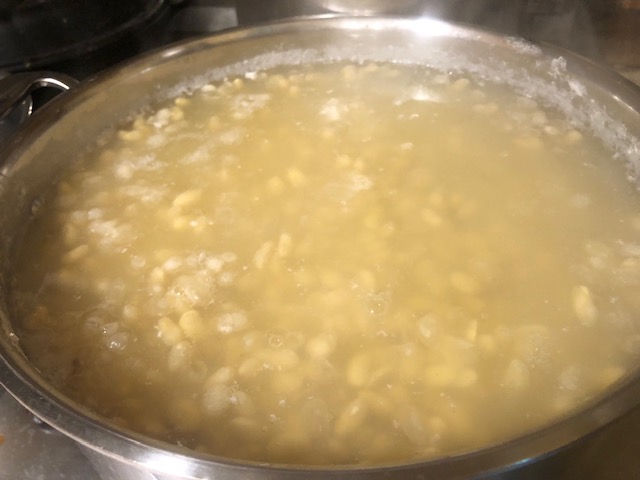
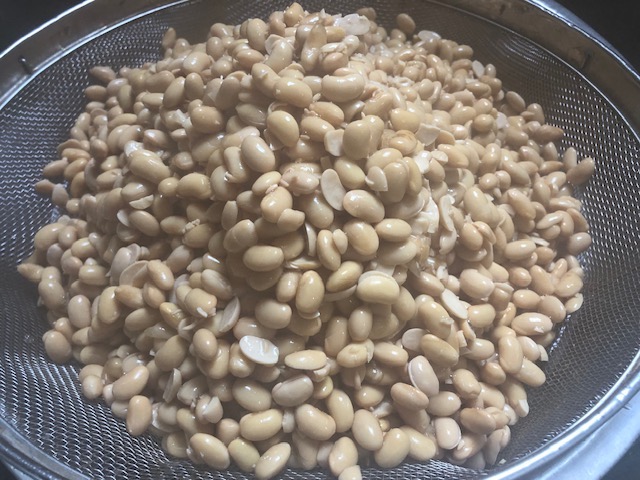
4. When the soybeans are soft enough to be crushed between your thumb and little finger, turn off the heat and drain the broth using a colander.
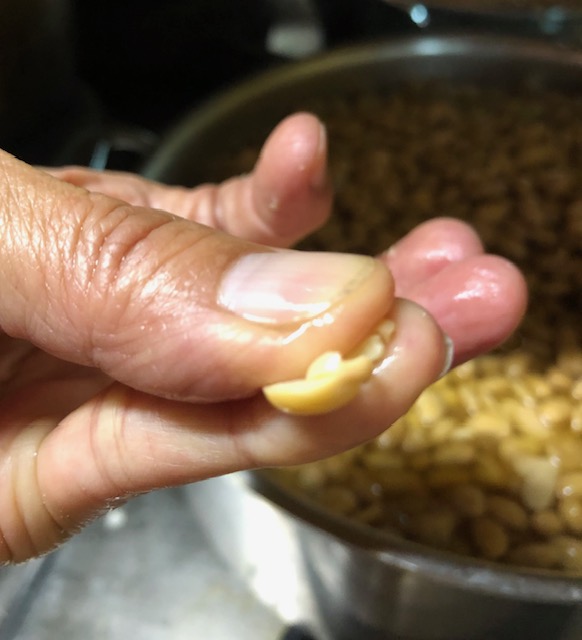
Keep some cooked broth to add to making miso later.
Boiled soybeans are perishable, so I recommend making miso as soon as possible.
(if you don’t prepare them right away, store them in the refrigerator.)
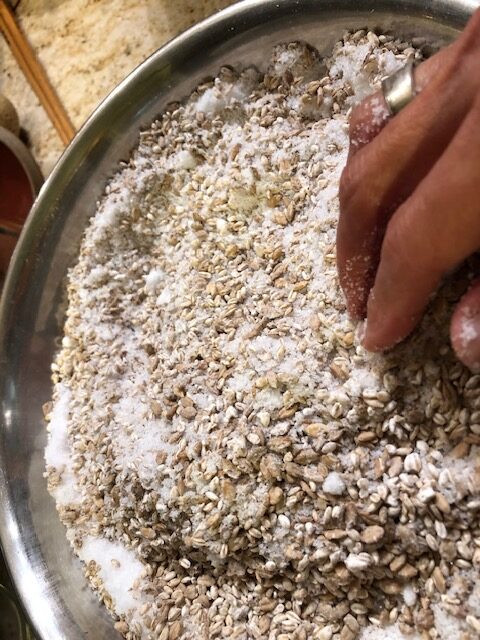
5. Now, make the shiokiri koji.
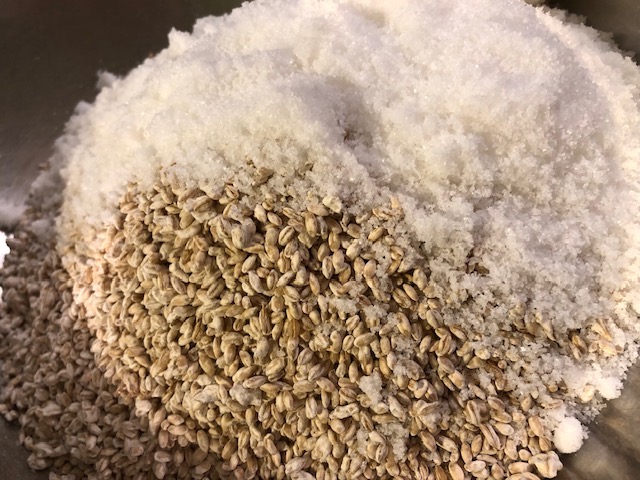
Add sea salt to naturally thawed koji to mix them well.
I usually mix a little by little by hand.
6. Place the boiled soybeans in a bowl and crush them by a wooden pestle and hand until they are no longer in shape. I like to keep some of the beans as they are so they have texture when miso is made.
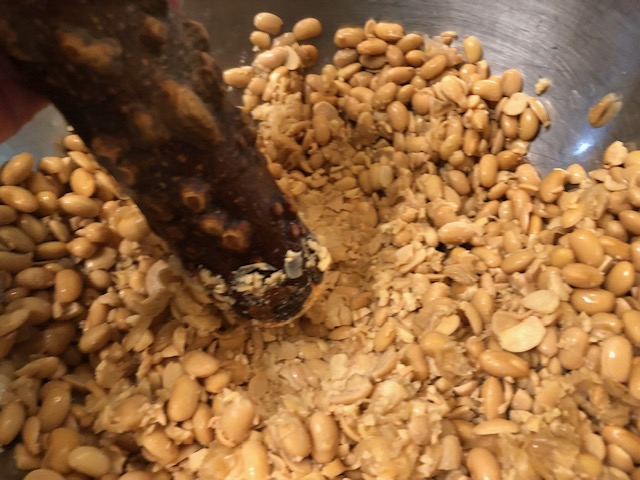
It’s easier to mash it when it’s warm.
(if it’s been refrigerated, you can warm it up a little.)
7. Add salted koji to the soybeans and mix. Check the moisture level and add a small amount of cooked soybean broth (usually around 10 to 50 ml) to reach the consistency of your earlobe. The secret to making it delicious is to mix it well.
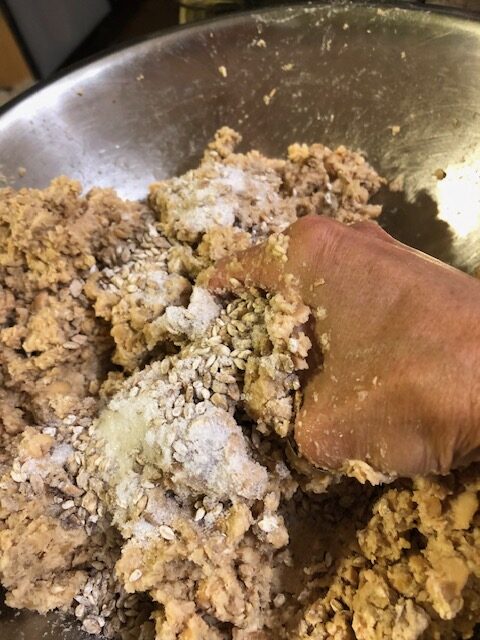
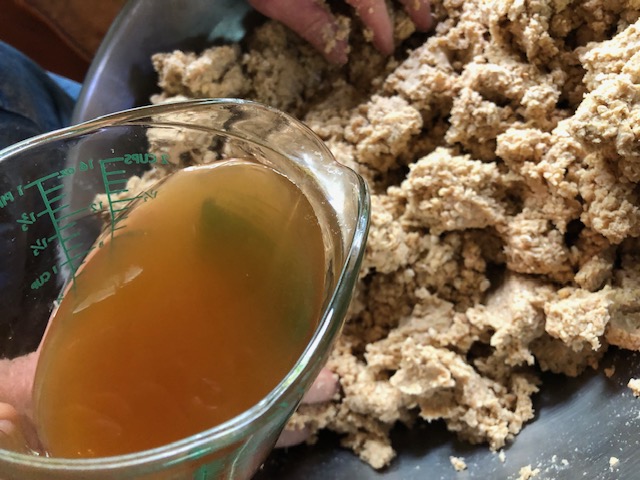
8. Mix until there are no leftover soybeans left, then roll a handful at a time like a rice ball. Then, place them one by one in a container (I use a ceramic jar) and press them down to flatten the surface while removing the air. The sides are prone to mold, so make sure they are flat.
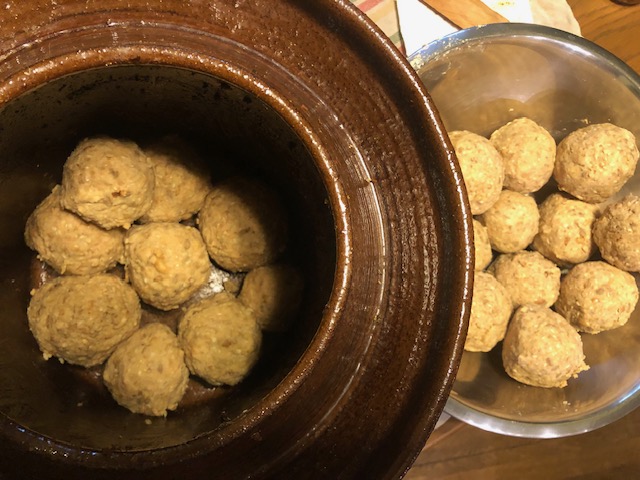
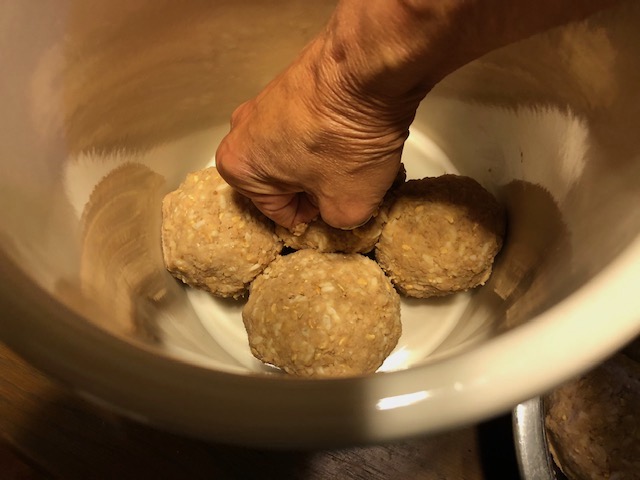
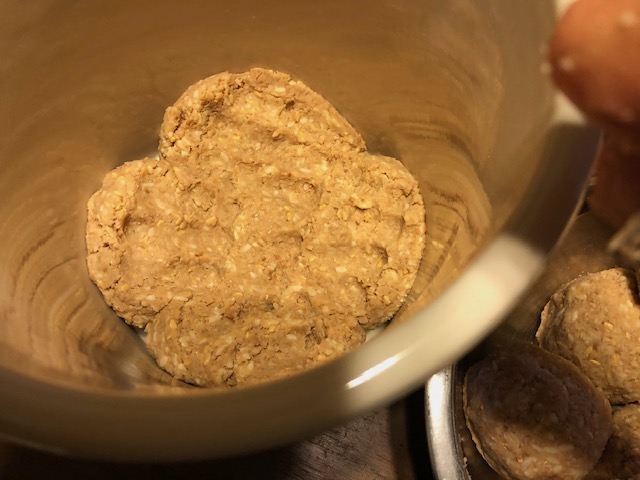
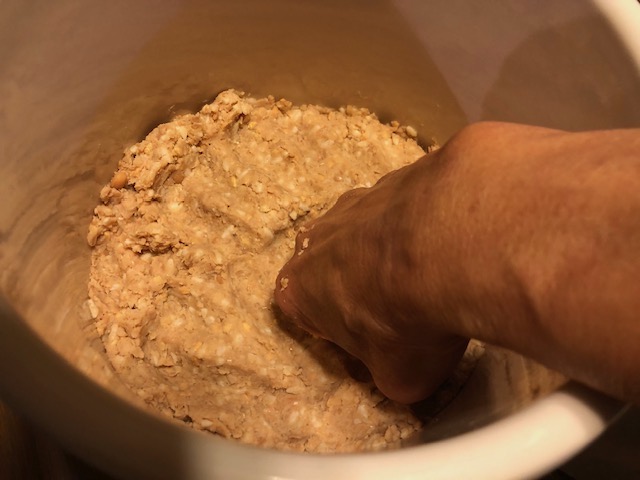
9. Spread organic cotton cloth, thin cheesecloth, etc., flat on the surface, and place a baking sheet on top to prevent air from entering.
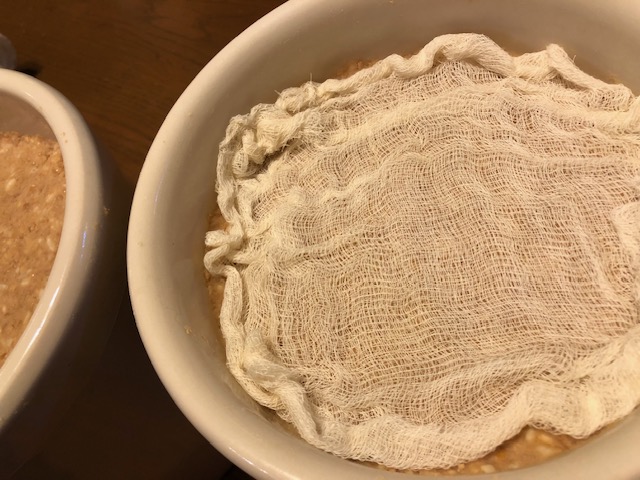
Some people find it practical to spray alcohol on the surface (if you don’t have one, sprinkle shochu or salt lightly and evenly) to reduce the amount of mold that grows, but I don’t do that.
10. Finally, add a weight (preferably about 30% of the weight) and put a label to complete.
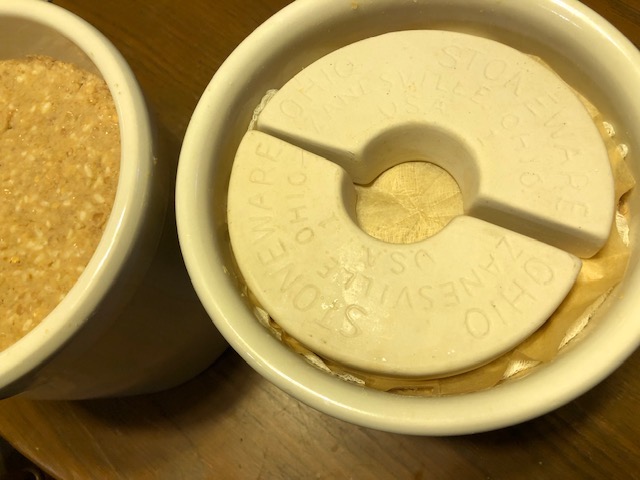

Where to Place:
Place the container away from direct sunlight. No Refrigerators! Miso has the property of absorbing odors, so avoid placing it near things with strong odors.
If you are planning to do Tench Gaeshi, I recommend that you write down the date of preparation, around the time of Tench Gaeshi and when it will be ready to sue so you don’t forget.
Tenchi Gaeshi:
Tenji Gaeshi is good to do between mid-July and early August. Remove the weight, baking sheet, and cloth, then remove any black mold that has formed on the surface. The whitish stuff is called acid-film yeast and is not harmful to the body.
However, mixing it with miso will spoil the flavor of miso, so try to remove it as much as possible. Flip the miso upside down to incorporate air. It eliminates the carbon dioxide produced during fermentation and introduces oxygen to promote better fermentation. This is sealed again, as shown in numbers 8 to 10 in the diagram on the left, and left to ripen until winter.
Purpose of Tenjigaeshi:
・Remove the mold so as not to spoil the flavor of the miso.
・Turn it upside down and release the generated gas.
・ Sends oxygen
・Promotes enzyme activity
・Uniform the hardness
Completion
The expected completion date is at least one year. Miso becomes more delicious after the hot summer (possibly two summers), and you can start eating it as early as you like after the summer has passed. I recommend two years aged miso.
When it is finished, remove any mold and turn it upside down to make it even. Additive-free miso will continue to ferment, and the color will darken, but it will not spoil and can be enjoyed for a long time. If you want to stop fermentation, put it in the refrigerator. If you use it while fermenting it, store it at room temperature and remove the mold before eating.
If any of you make Miso using my recipe and have questions, let me know.
Love,
Sanae ❤️

